Refilling the Ink Tanks – Epson
Refilling the Ink Tanks – Epson printer
Make sure you have new ink bottles handy and have read the ink safety precautions before you begin.
You can continue to use the product even if one or more ink tanks are not filled all the way. However, to keep your product operating at its best, fill all the ink tanks up to the top line.
Caution:
Wear plastic gloves while refilling the ink tanks to avoid staining your hands.
- Place a sheet of paper under the ink tank area in case of spills.
- Turn on your product.
- Make sure the
 power light is on, but not flashing.
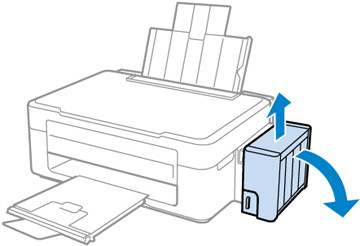
 - Unhook the ink tank unit from the product and lay it down.

Note: Do not pull on the ink tubes. - Open the ink tank unit cover, then remove the ink tank’s cap.

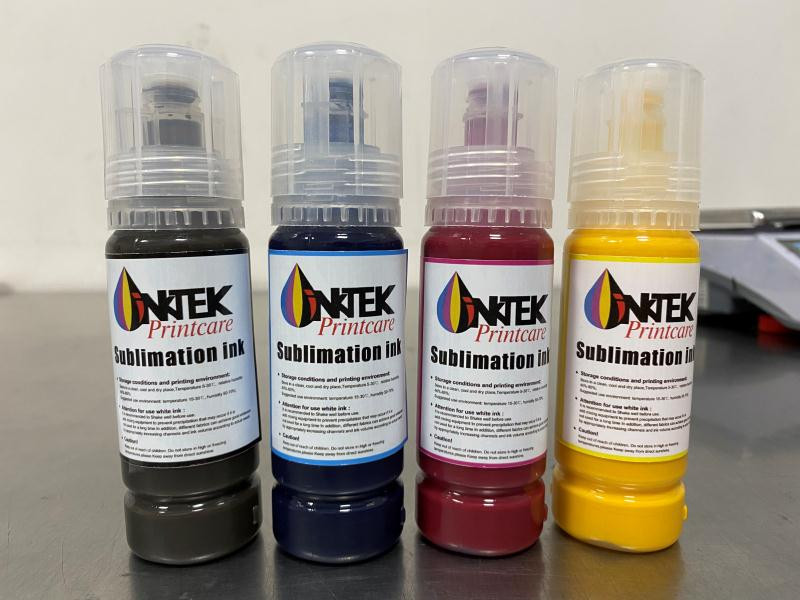
Note: Make sure the color of the ink tank matches the ink color you want to refill, and only remove the cap from that ink tank. Be careful not to spill any ink. - Snap off the tip of the bottle cap, but do not dispose of the bottle cap tip so you can use it to seal the bottle cap later, if necessary. Then remove the cap, remove the seal from the bottle, and replace the cap on the bottle.Note: Make sure the color of the ink bottle matches the ink color you want to refill.

Caution:Install the bottle cap tightly; otherwise, ink may leak.
- Refill the ink tank with the correct color ink up to the upper line on the ink tank.

- If any ink remains in the ink bottle after filling the ink tank, place the bottle cap tip securely on the bottle cap and store the ink bottle upright for later use.

- Place the rubber cap securely on the ink tank.

- Repeat the previous steps as necessary for each ink color you need to refill.
- Close the ink tank unit cover.

- Hook the ink tank unit onto the product.


Your article helped me a lot, is there any more related content? Thanks!
Thanks for sharing. I read many of your blog posts, cool, your blog is very good.