
How to Clean the Print Head of an Epson Printer
How to Clean the Print Head of an Epson Printer
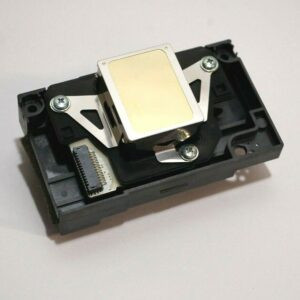
When the print quality of the Epson printer your business relies on diminishes, dirty print heads may be to blame. The print heads are responsible for transferring the ink to the paper. Over time, dried ink may clog the print heads, resulting in light or dark bands appearing across the documents your print. Cleaning the print heads can clear these clogs and restore proper ink flow.
- 1.Turn on the printer and confirm that no print jobs are printing. If the ink light on the front of the printer is flashing then you must replace a cartridge before you can continue.
- 2.Confirm there is paper in the tray and add paper if necessary.
- 3.Click “Start” and “Devices and Printers” to view a list of all installed printers and then double-click your Epson printer. Double-click “Adjust Print Options” to open the Printing Preferences dialog box. Select the “Maintenance” tab and click “Head Cleaning.” Alternatively, you can right-click the printer icon in the system tray and select the “Head Cleaning” option. These options may vary slightly depending on the version of Epson software installed on your computer. From a Mac, you must click “Applications,” select the “Epson Printer Utility” and then select your Epson printer from the list. Click “OK” and then select the “Head Cleaning” option to open the Head Cleaning dialog box.
- 4.Click “Start” when prompted to start the cleaning process. Some Epson software versions require you to click “Next” to proceed.
- 5.Wait for the head cleaning process to complete. This process may take several minutes. Turning off the printer during the cleaning process may permanently damage the device. The printer’s power light, which flashes during the cleaning process, will stop blinking once the process completes.
- 6.Click the “Print Nozzle Check Pattern” option and then click “Print.” Your printer prints a series of staggered lines. From a Mac, click “Confirmation” followed by “Next.”
- 7.Review the Nozzle Check pattern sheet that printed. If the pattern shows solid lines without any gaps or faint printing, the cleaning process was a success and you can click “Finish.” If the pattern contains gaps, then click “Clean” to run the print head cleaning process again. v b vc


Trending Posts


Post List #3
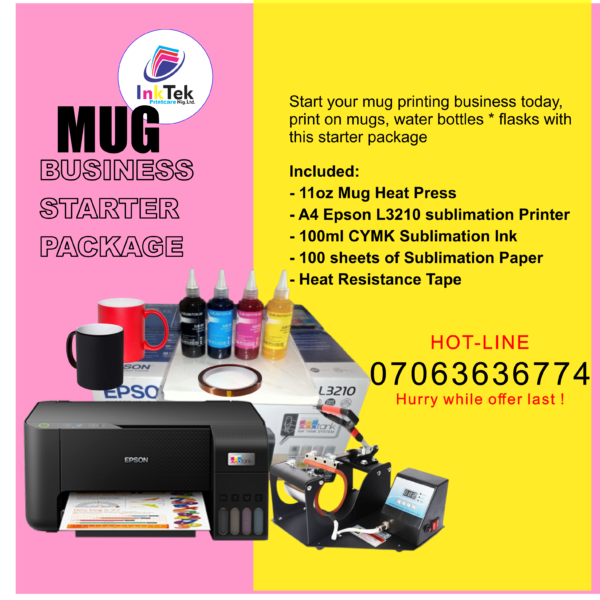
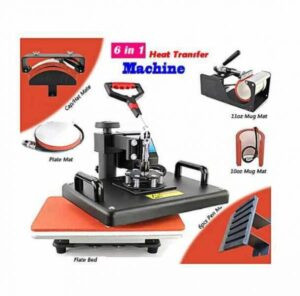
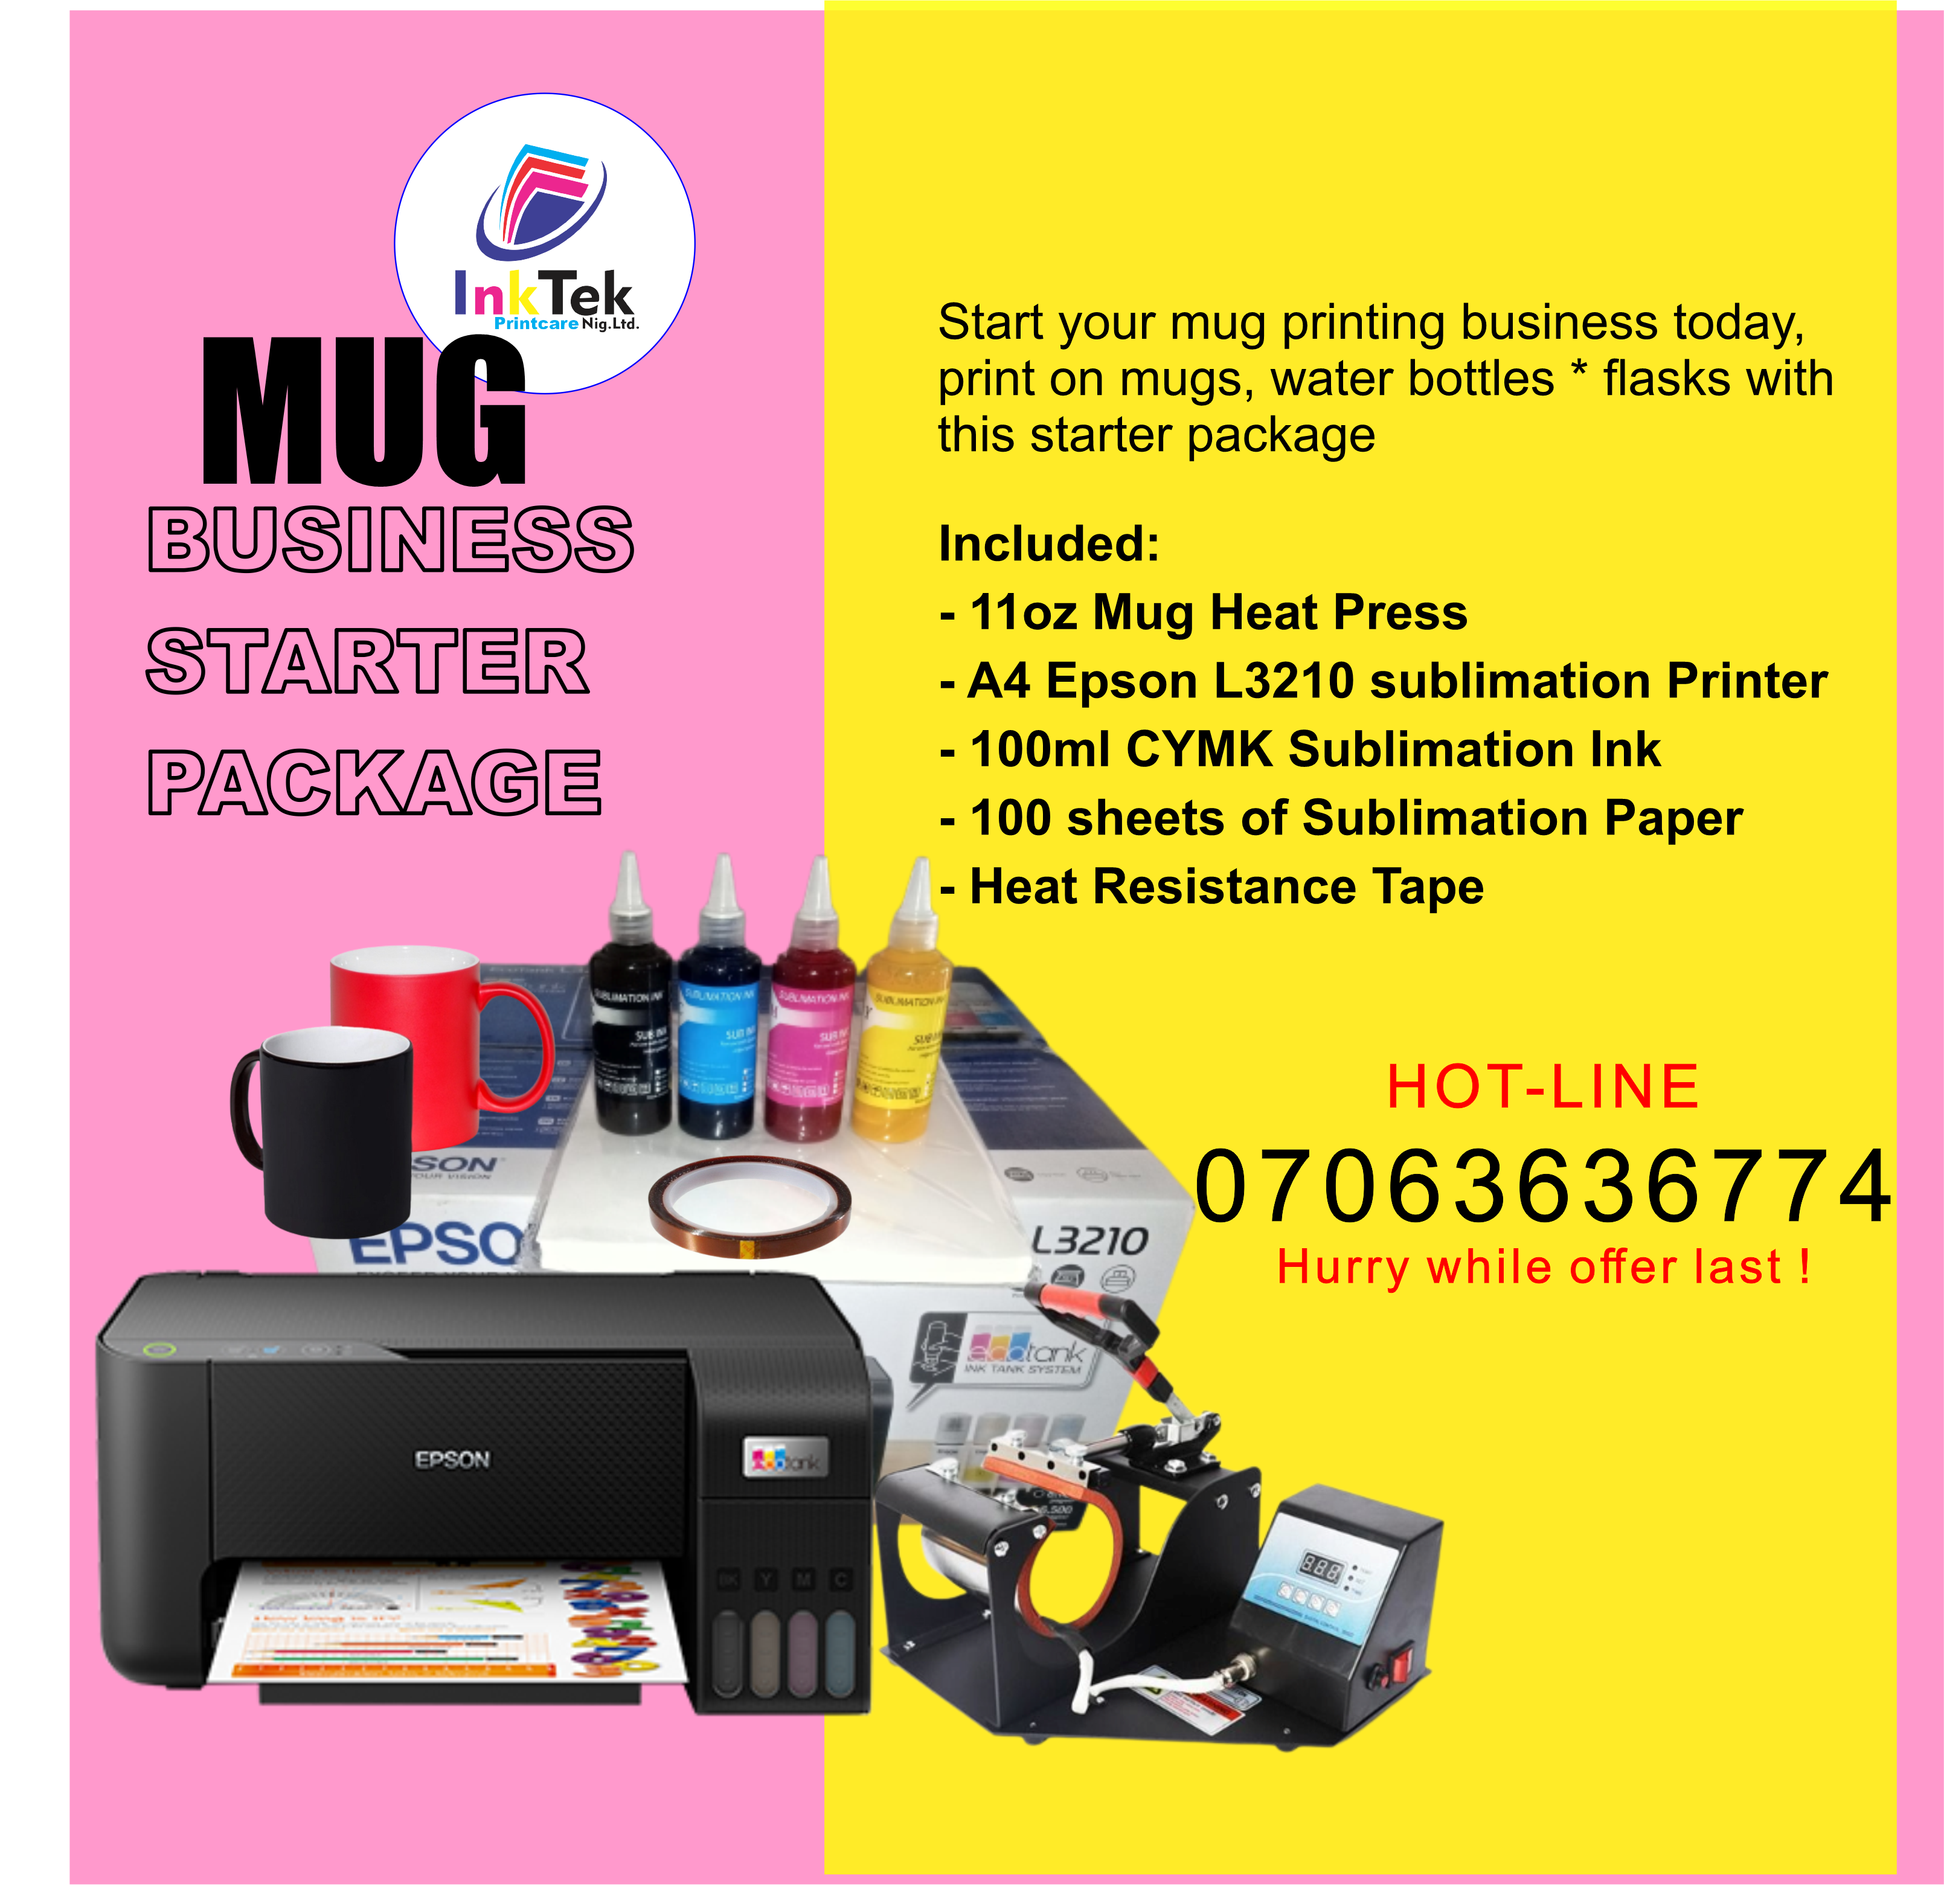
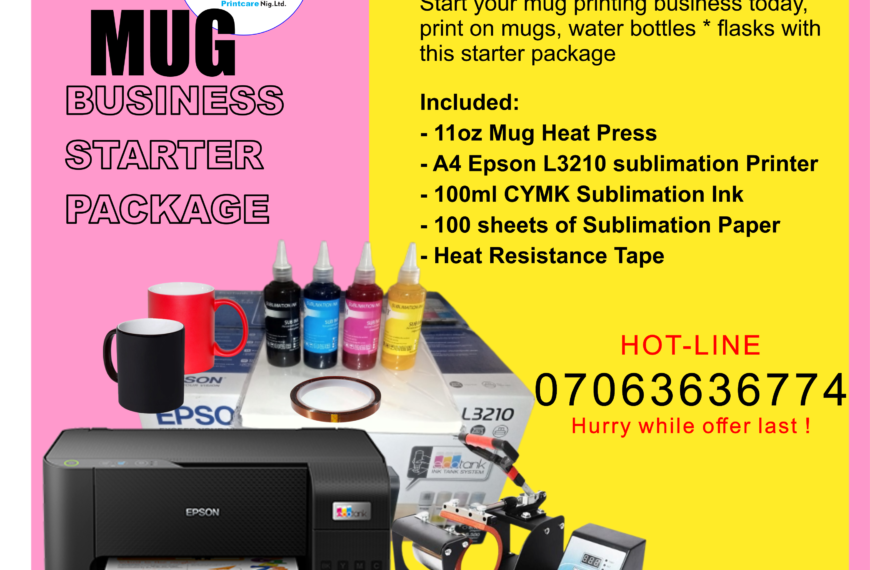
MUG printing business Starter Package
Introducing the MUG printing business Starter Package! We’re suppliers of equipment and consumables for printing t-shirts, giftware, mugs and much…

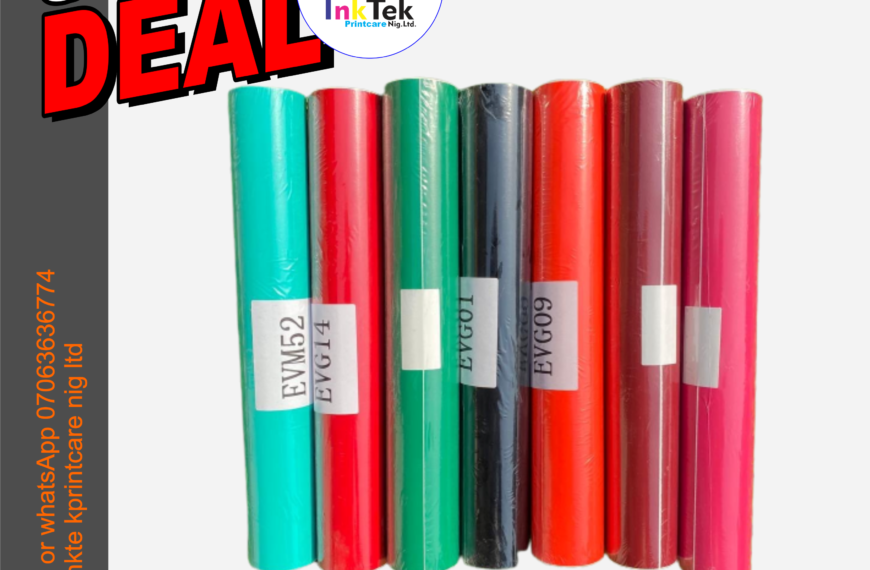
VINYL FLOCKS ROLL/YARD
VINYL FLOCKS Super Deals this October-December!! Watch out for more! For Enquiries.. ⠀Call us or send a WhatsApp message on 07063636774⠀ Email…
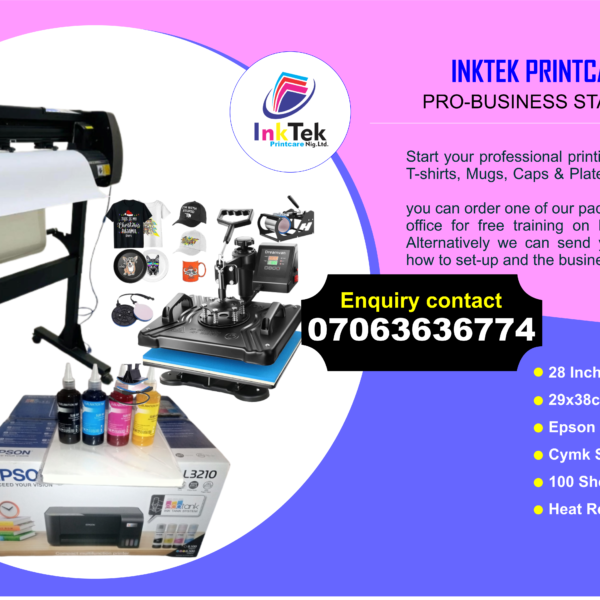
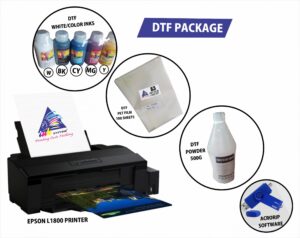
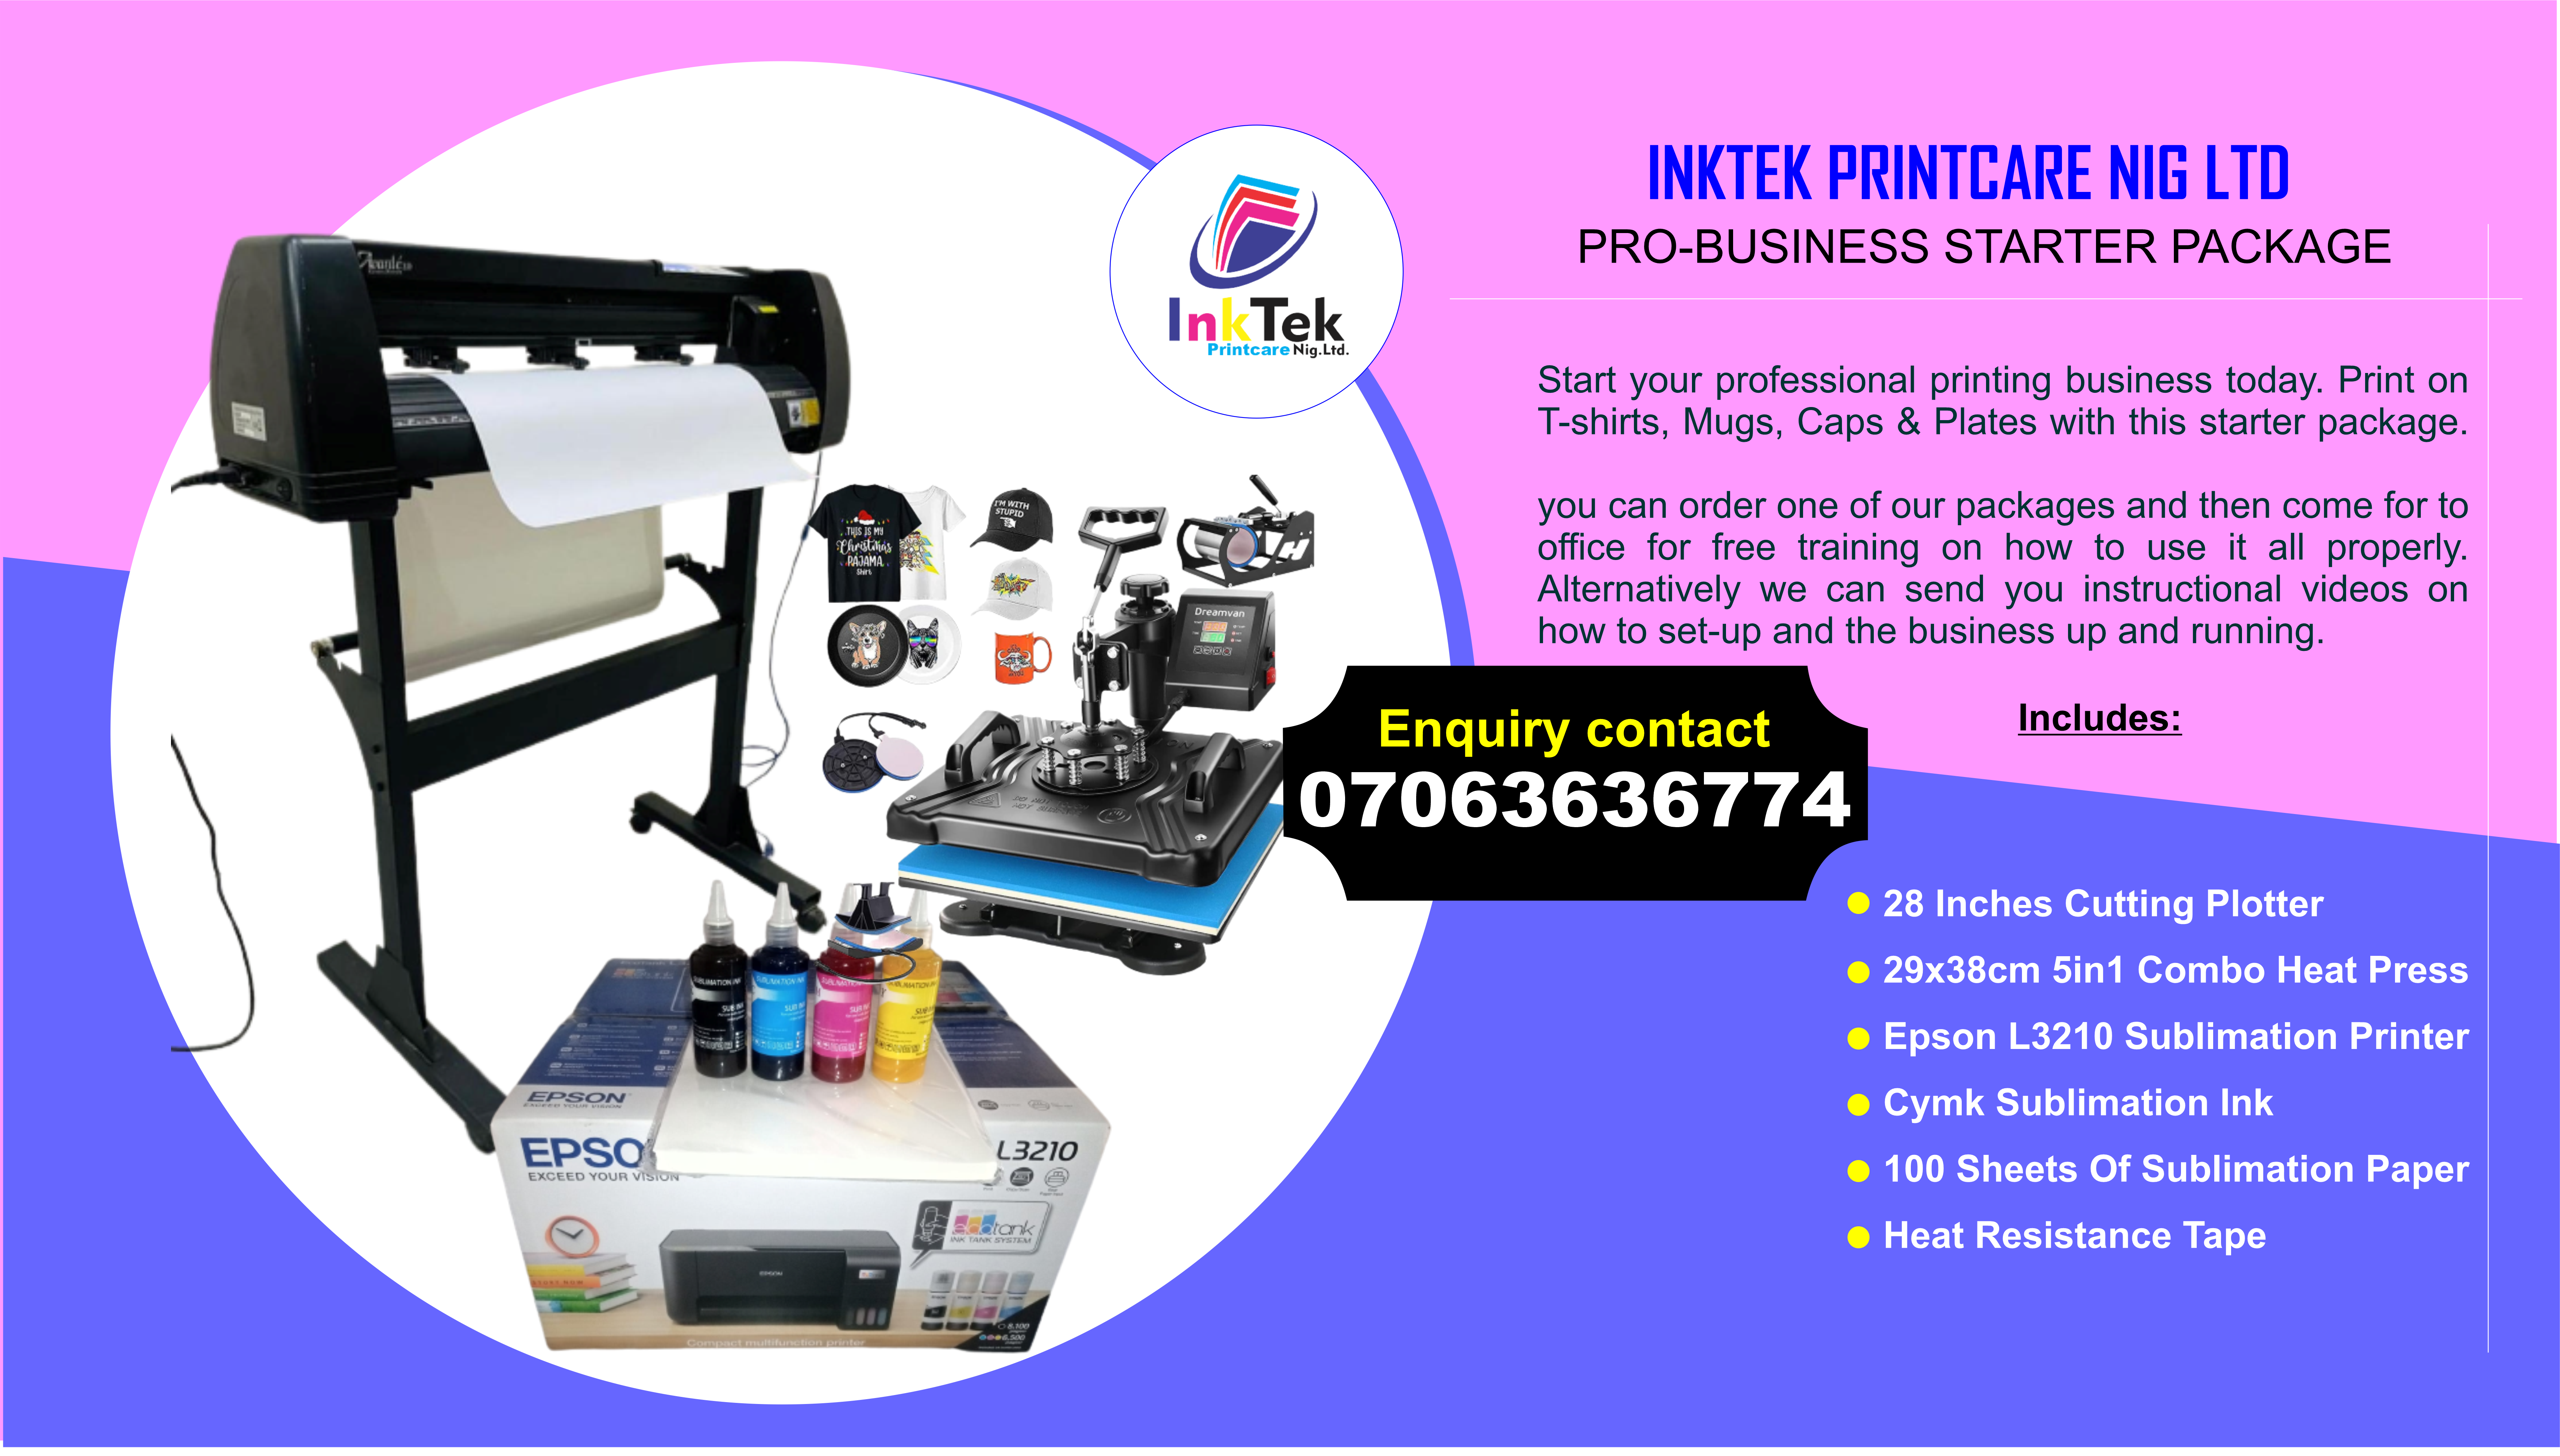
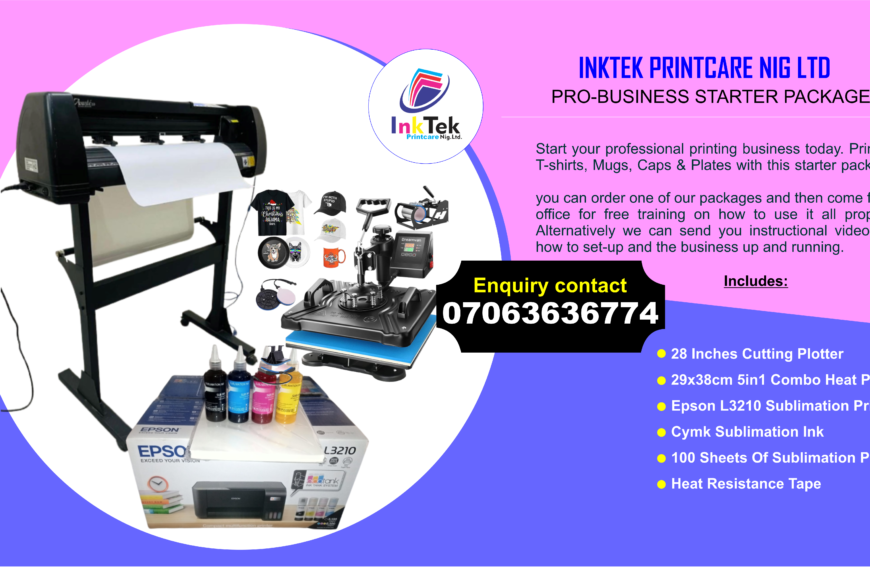
Inktek Pro Business Starter Package
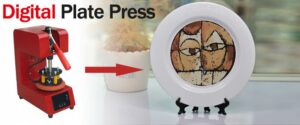
Start your professional printing business today. Print on T-shirts, Mugs, Caps & Plates with this starter package. you can order…
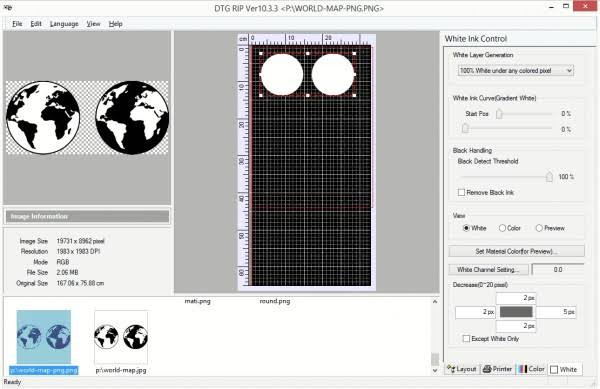
How to control where white ink will print with acrorip V10, 10.5
How to control where white ink will print with acrorip V10, 10.5You can preview where the white ink will print…

Latest news
POST Gallery


I have read your article carefully and I agree with you very much. This has provided a great help for my thesis writing, and I will seriously improve it. However, I don’t know much about a certain place. Can you help me?
thank you