How to Use a Badge/button Maker
How to Use a Badge/button Maker
Step 1: Find Some Artwork

The first step is to find some artwork that you would like to turn into badges. I decided to make Lego badges so I cut pictures out of the Lego catalogue. I love love LOVE that catalogue and would buy everything in it if I could. But because I can’t, I will have to settle for badges of them instead.
When you have found artwork that you like, you will need to cut it out. Our badge maker had a circle cutter with it that cuts to the right size. The circle has to be bigger than the badge will end up. The cutter has a clear circle inside that shows you the area that will be visible on the badge. You can cut circles using scissors, punches and plotter cutters too, but you will have to be more careful, to make sure that you don’t lose the bits you want when you make the badge up.
You don’t have to cut artwork out like I have. You could create some on a computer or even just design some badges using pens and pencils! It is up to you!Add TipAsk QuestionCommentDownload
Step 2: The Front of the Badge


3 More Images
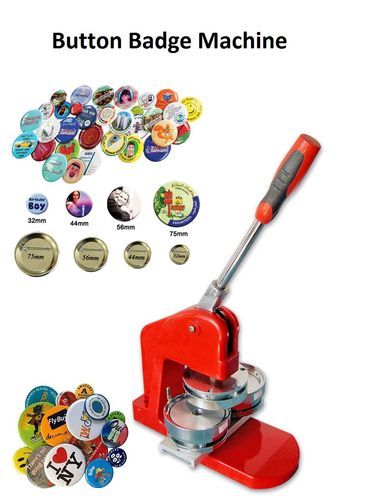
The badge maker is made of two dies that mould the badge. The first die moulds the front of the badge, then the second one pushes it together with the back part of the badge.
The front of the badge is three layers sandwiched together. The badge maker presses them together for you. First, you need to load a metal front piece into the machine. Then, add the artwork and top with a clear film that is made from a plastic called mylar.
Once you have loaded the materials, you have to add the chrome ring on top. Then you add the black plate, so that it looks like a top hat. When you have done that, you swing the die round so it is under the handle. Then pull the handle down as far as it will go. You have to be a little bit strong to do it, but it’s not too hard!Add TipAsk QuestionCommentDownload
Step 3: The Back of the Badge


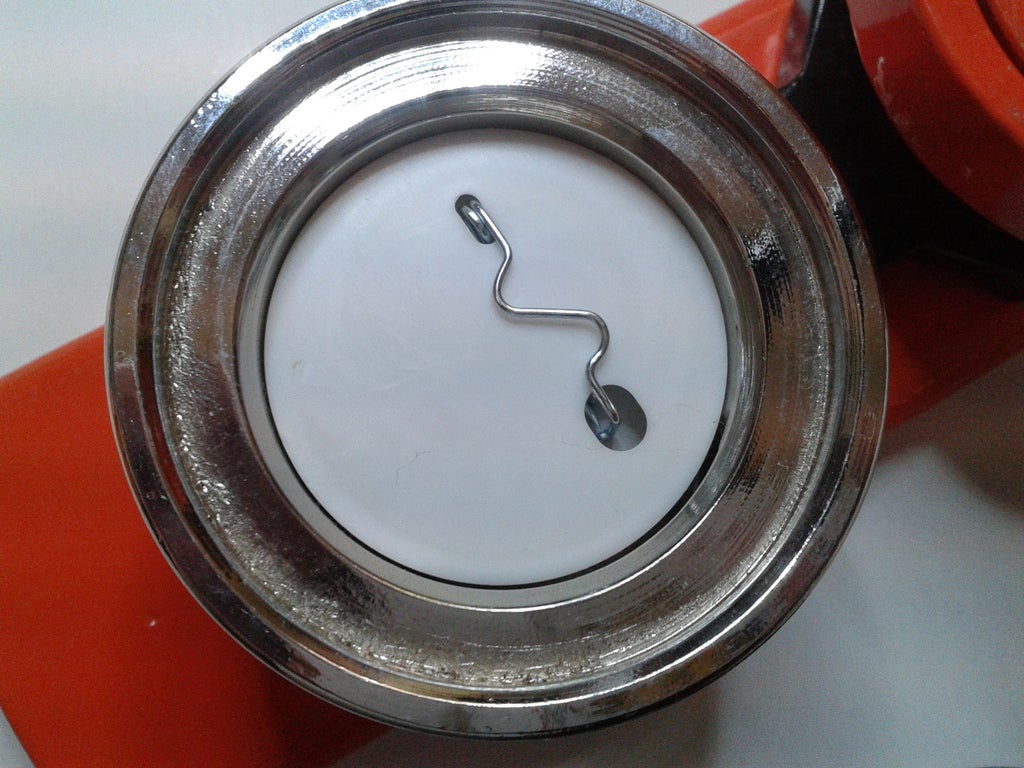
3 More Images
Once you have pressed down the first die, swing the die back round so you can get to it and remove the badge. It will be held inside the chrome ring. Next, you need to take a badge back and put the pin in it so that the pin and the lip around the edge face the same way.
Then you need to put the badge back into the second die, pin side down. Place the chrome ring with the badge front in, into the die as well, facing upwards. Then add the black plate back in, this time flat side up.
Once you have done that, swing the second die round so that it is under the handle and pull the handle down as far as it will go again. Then you can swing it back round again, remove the plate and the chrome ring, and your badge is ready!Add TipAsk QuestionCommentDownload
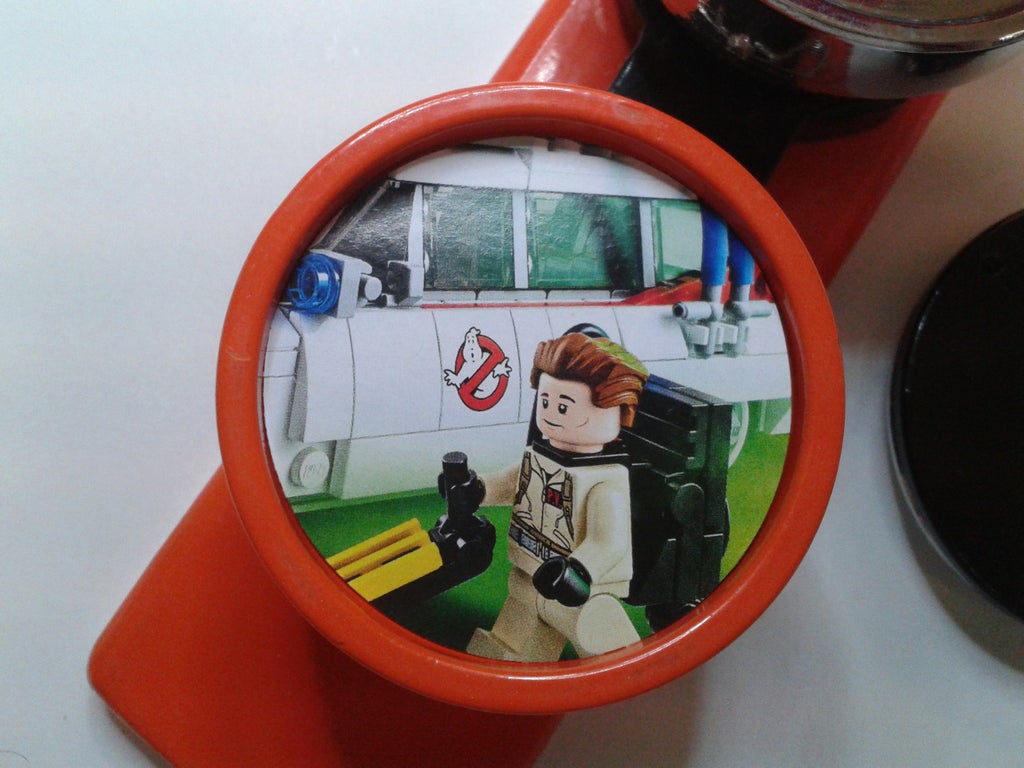
Step 4: Finished Badges!


Once you have done that, you can make more… and more… and more of them! I love making badges and want to make a lot more of them! But that’s fine, because once you know how, you can make as many as you like ;-)Add TipAsk QuestionCommentDownload